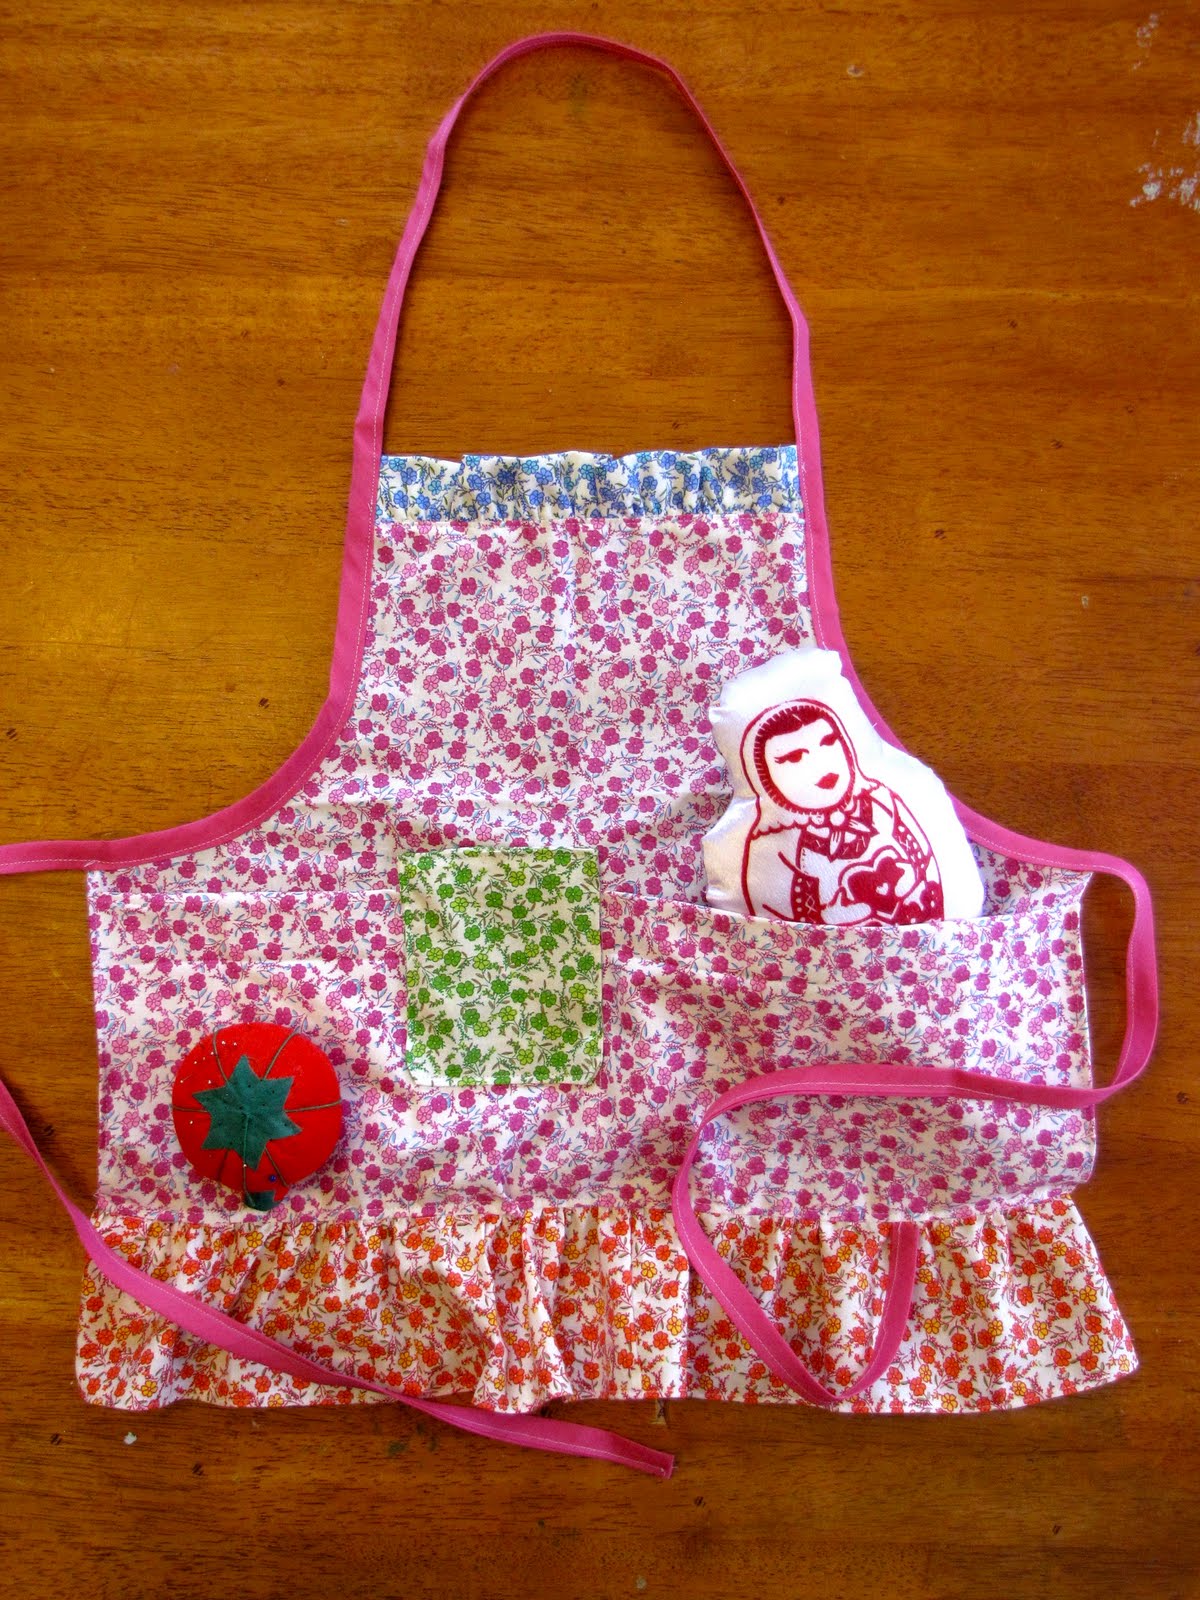
 I love making aprons, and my girls expect their fair share of the sewing. So I made up this quick pattern for them. They love to go to the store and pick out a fat quarter to have made up into something for them. I’m showing the more advanced version, with pockets and ruffles, but if you’re looking for something really quick and cheap, you can skip all that and it makes up in less than half an hour.
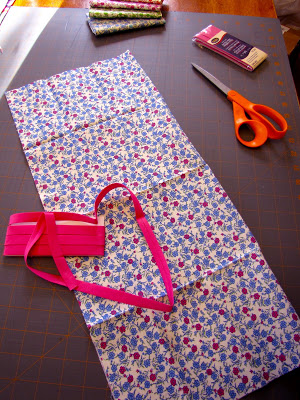
You’ll need some fat quarters, really only one fat quarter for the simplest version, and a package of coordinating double fold bias tape. Fold the main color fat quarter in half, hotdog style.
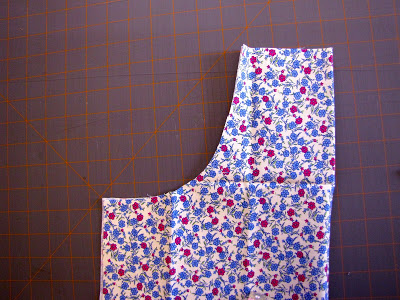
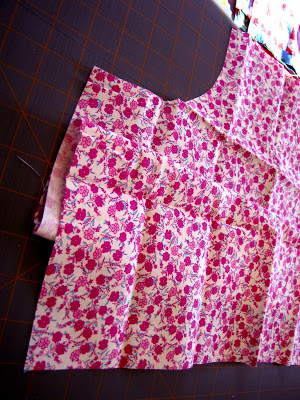
In the upper corner, cut a sort of quarter circle shape out of the apron. The center of that will become the center front. So if you have your child avaliable now is the time to measure them if you want. If you measure across their chest, the distance from the top of the curve to the center fold should be half that measurement.
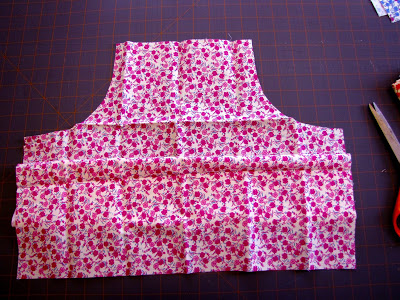
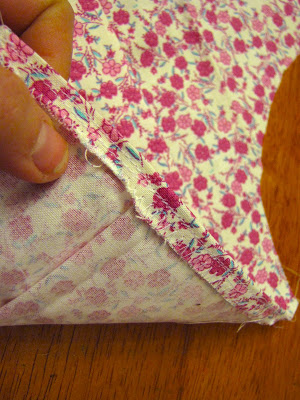
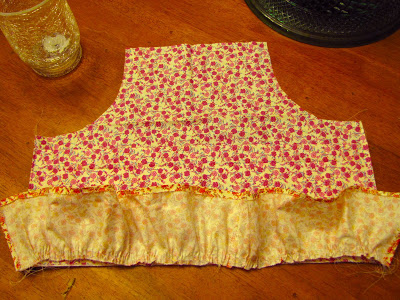
It all makes more sense once you unfold it. It begins to look like an apron! Now’s the time to check it by holding it up to your wiggly model and make sure it’s going to go under their armpits and fit well. Recut your hole a little bigger if you need. At this point you make a pocket all the way across by folding up the fabric all the way across the bottom.
See how you fold it up, but still leave some longer than the pocket? Make sure it’s at least 4 inches deep or it ends up as a pretty small pocket. Then stitch along the sides to hold that in place. Now you can finish the sides any way you want. I just set my zig zag stitch to the longest stitch length and sew along the edge to create a faux serger edge, then just flip it to the back and topstitch.
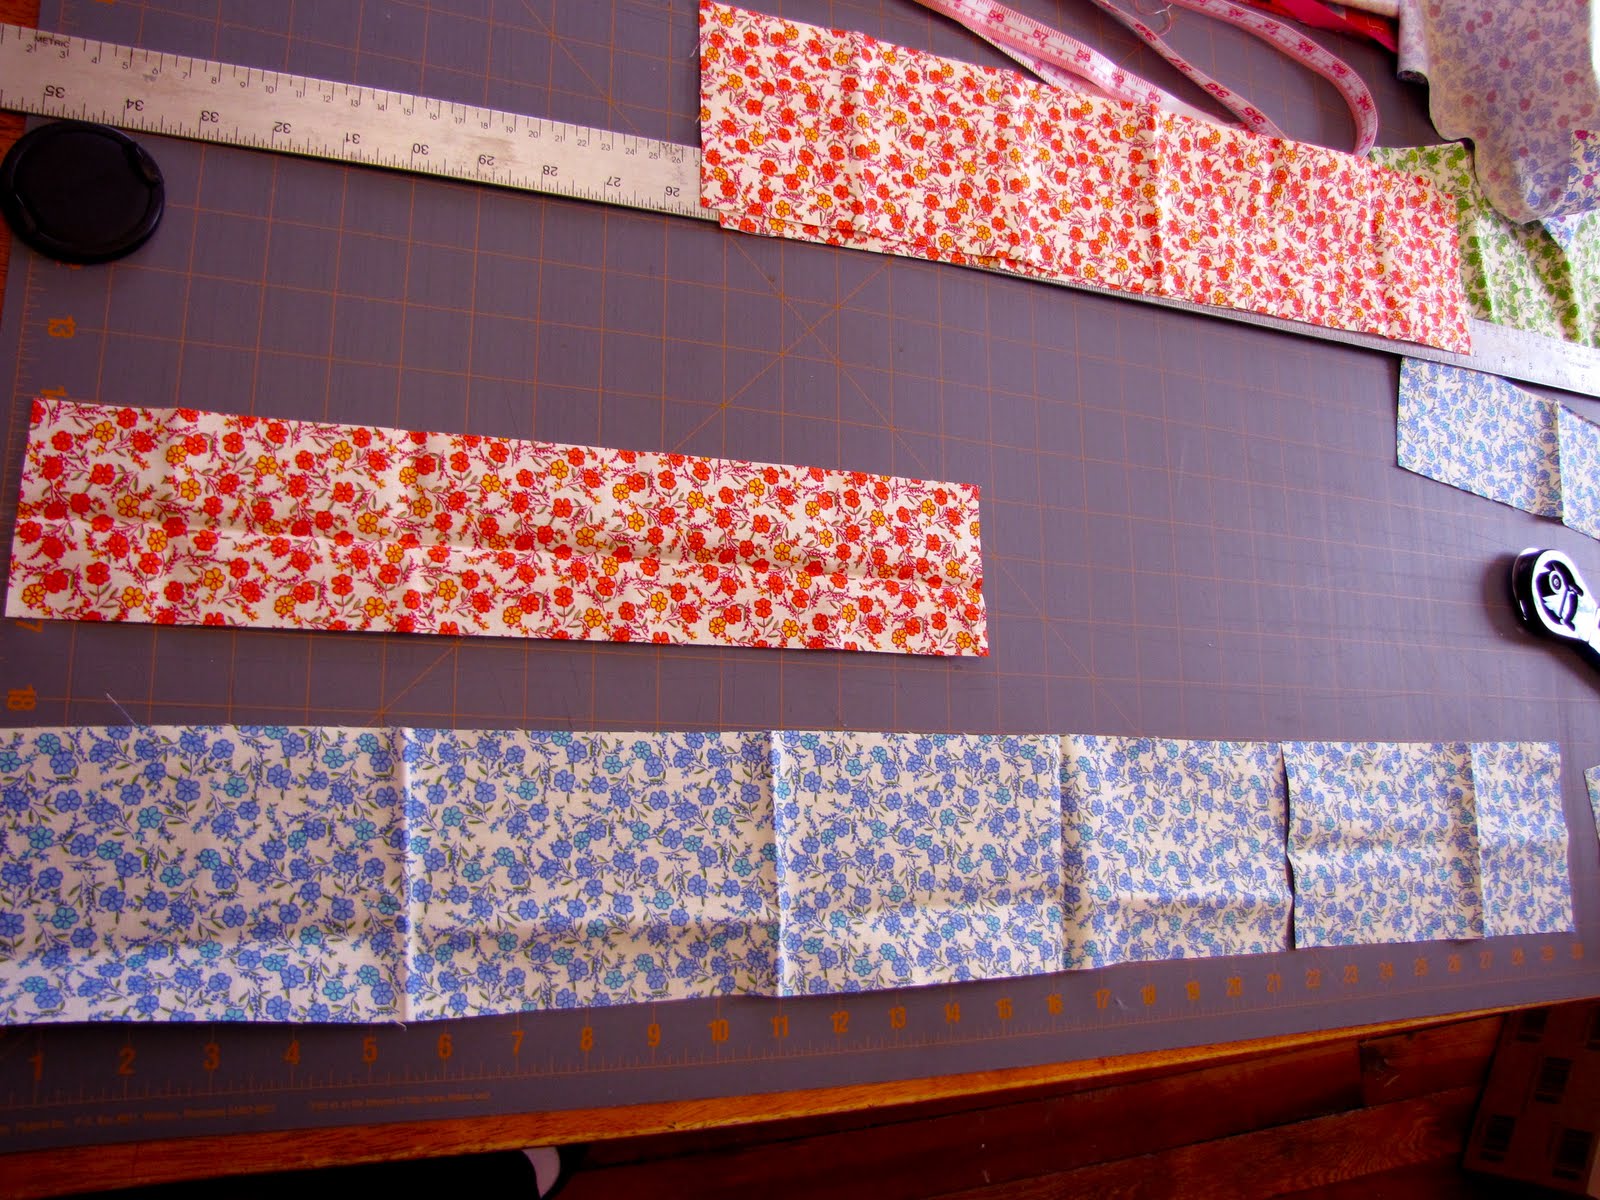
You’re also going to need to cut some cute ruffles for this, if you do the pocket. If you don’t make the pocket you don’t really need the length, so the ruffles are optional. If you want them, cut a strip of fabric 4″ wide and about 6″ longer than the bottom of the apron for the bottom ruffle, and a strip of fabric about 3″ wide and about 3″ longer than the width of the top of your apron for a top ruffle.
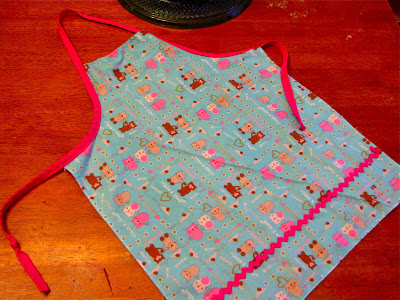
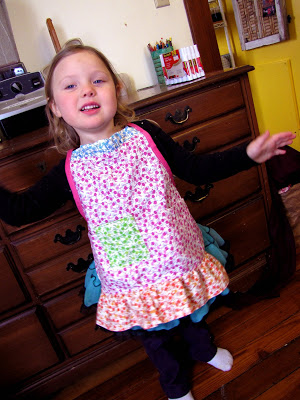
 Here’s how one looks that I made without a pocket. I made it for Christmas for my daughter a year ago. They hold up pretty well.
For the ruffle, I zig zag all the way around the rectangle, and then fold over and finish all the edges but the top. Then gather the top and stitch it to the bottom of the apron. Don’t forget to zig zag the bottom of the apron so it won’t fray in the washer!
Next to make the top ruffle, fold the 3 inch strip in half the long way, with right sides showing, and zig zag the edges together. Gather the zig zagged edge so that it fits on the top of the apron, and stitch it, making sure to zig zag the top of the apron first.
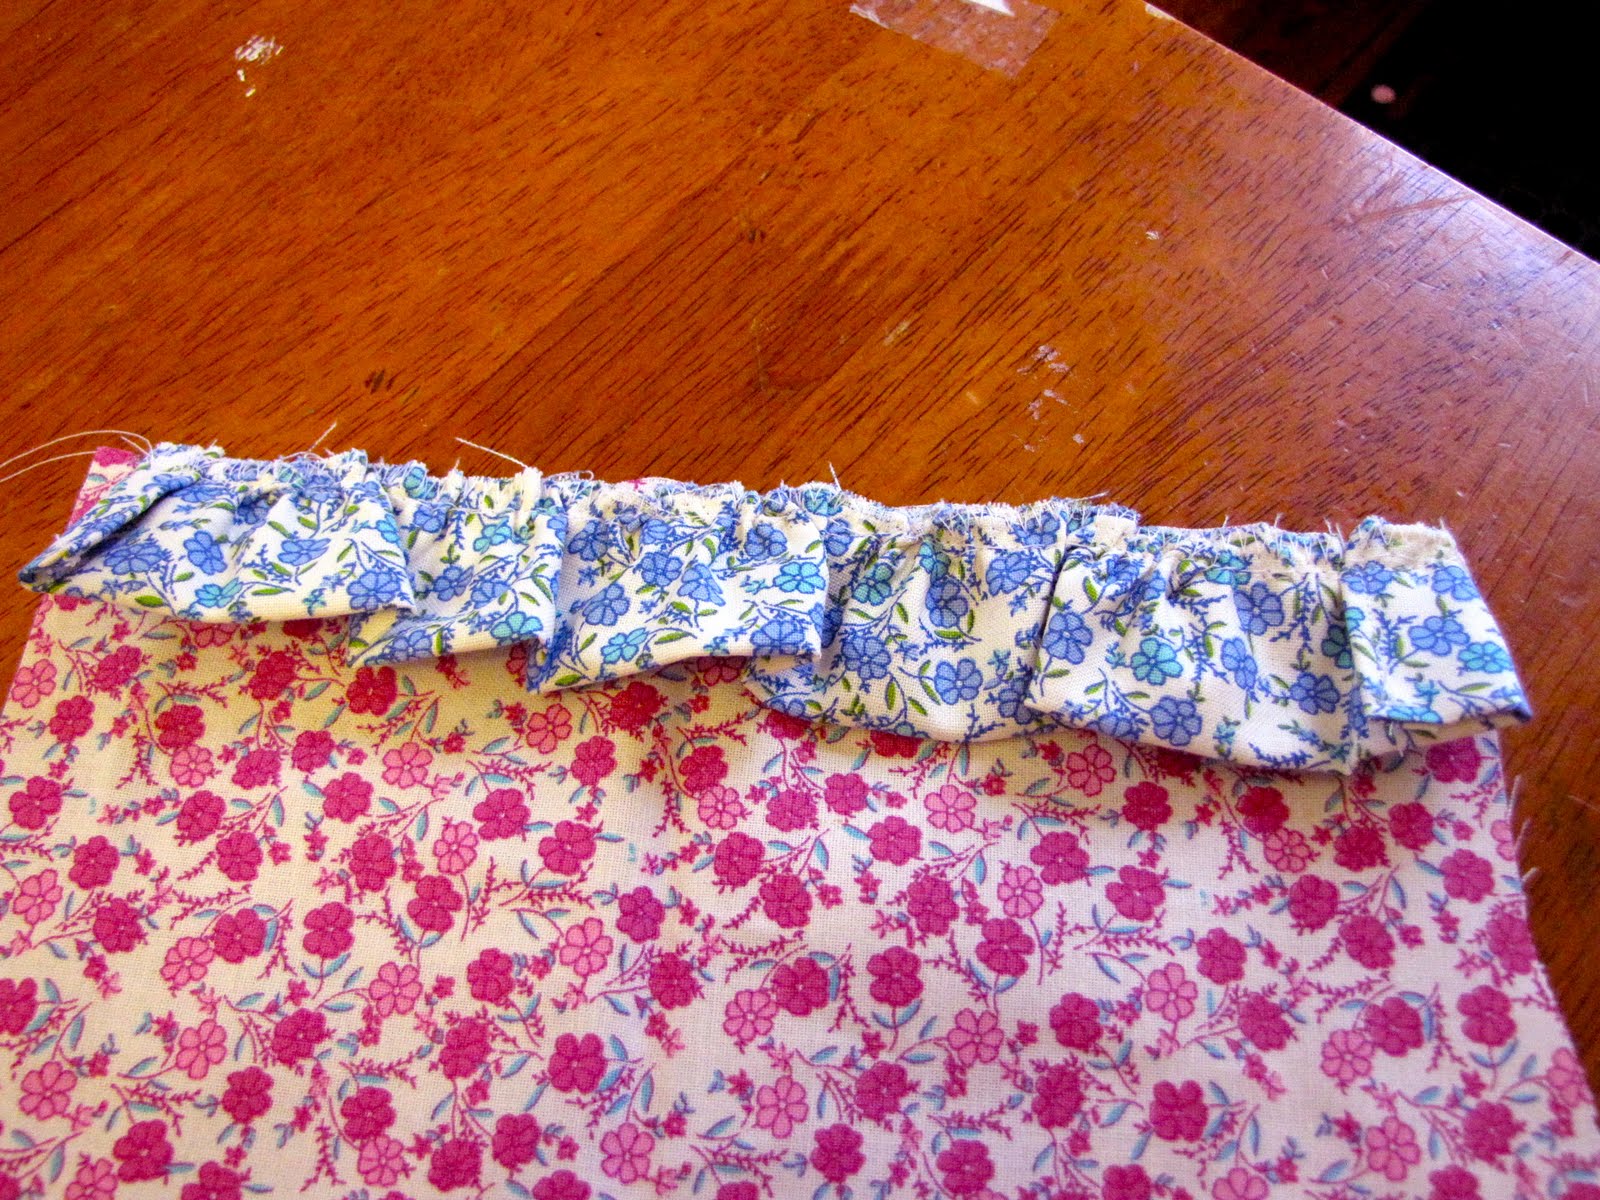
I find that it helps to topstitch the ruffles once they’re laying properly, just slightly off from the seam. It makes them stay where they belong a little better.
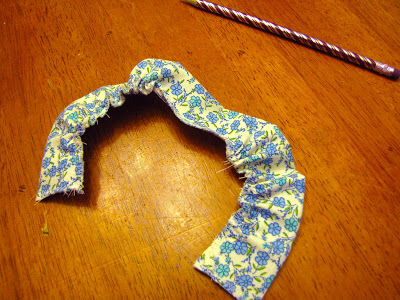
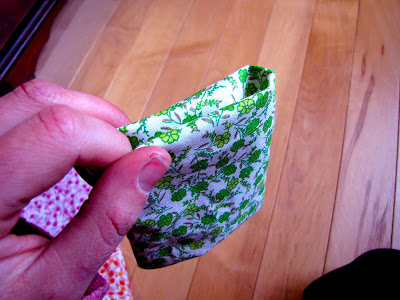
Next, we make the pockets. First, run a line of stitching up the middle of the folded pocket in order to make two large pockets. Otherwise it’s too easy for things to flop out. Then I like to add a detailed pocket, smaller in a contrasting fabric. Take a long rectangle of fabric, maybe a leftover from the ruffles, and fold it in half.
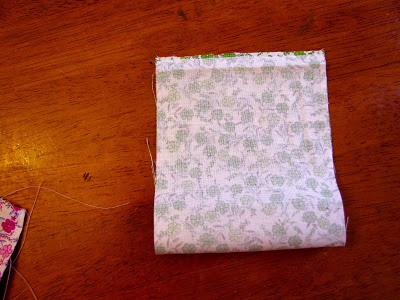
Seam along either side, but leave the top open. Flip it, and fold down the fabric into the little bag created, then sew along the top, enclosing the raw edge.
Once your pocket is made, then just topstitch it onto your apron, overlapping one of the main pockets. It will create a neat layered pocket effect that is great for little treasures.
Last, finish the ties, and the edges with the bias tape. Just pin the tape along the arm holes finishing those edges, leaving enough bias tape to create the neck hole and leave long strings of it on either side for the ties.
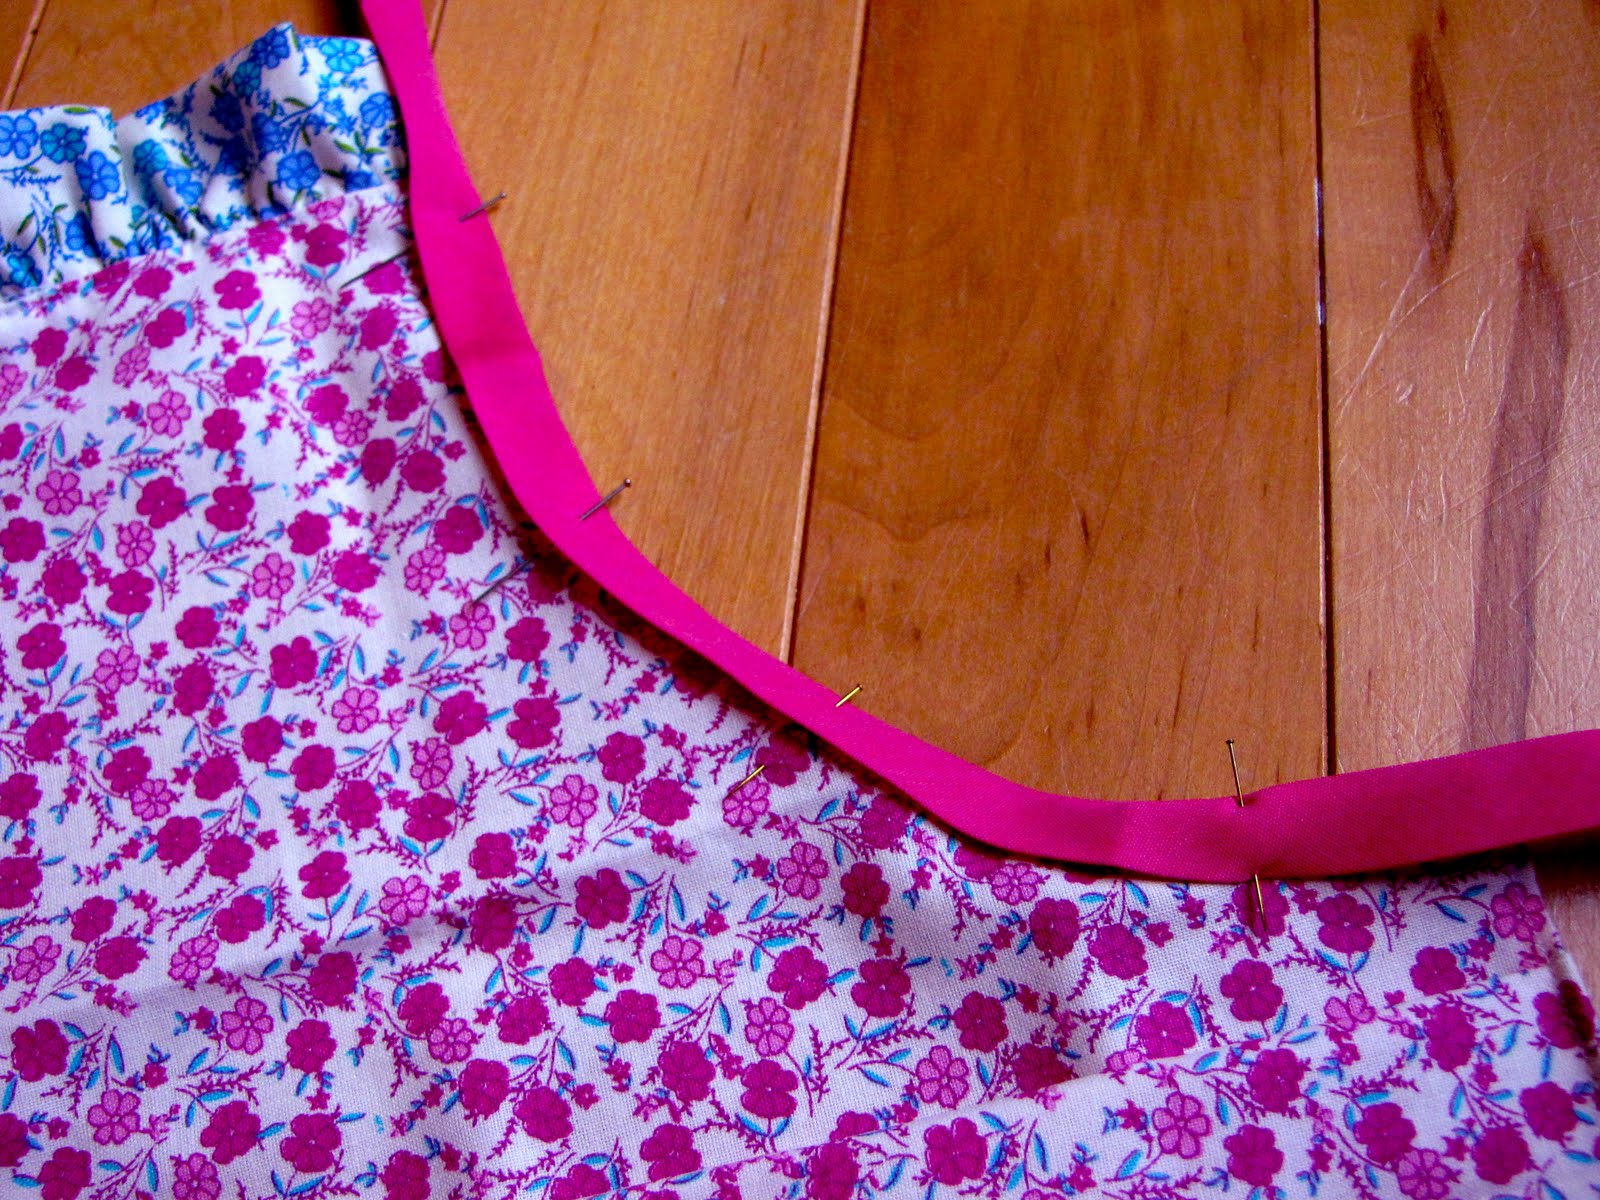
I stitch the arm holes first, then go back and stitch along the edges of the bias tape to finish the ties and the neck loop.
 Don’t forget to cut all the threads before you give it to your little one, because you’ll never get it back!